Showing posts with label glitter paper. Show all posts

Monday, May 15, 2017

Little Blue Cupcake

Can you believe May is half over? Time for the next challenge at Incy Wincy Designs.  This challenge is sponsored by

and


The challenge is "Black and White plus One other Color".
I used an image from Drawn by Krista.  I made a round card and added my favorite color-blue.


inside

Stuff I Used:
Image-Cupcake Elephant by Drawn by Krista
Colored with Copics
C1, C3, B02, B04, B06
Circles cut with Cricut Accent Essentials cartridge
DP-DCWV the Glitter Mat Stack
Cardstock-Black from stash
I popped up the image on homemade blue foam squares.  I added a smaller image on the inside. I colored some of the circles on the front with Copic B06, And added Wink of Stella clear glitter on the cupcake icing.

Now it's your turn.

Thanx for looking and please comment and follow.


post signature

Thursday, February 11, 2016

Cupid Love

Is everyone ready for Valentine's Day?  Any special plans? None for me.  Anyone want to be my Valentine?

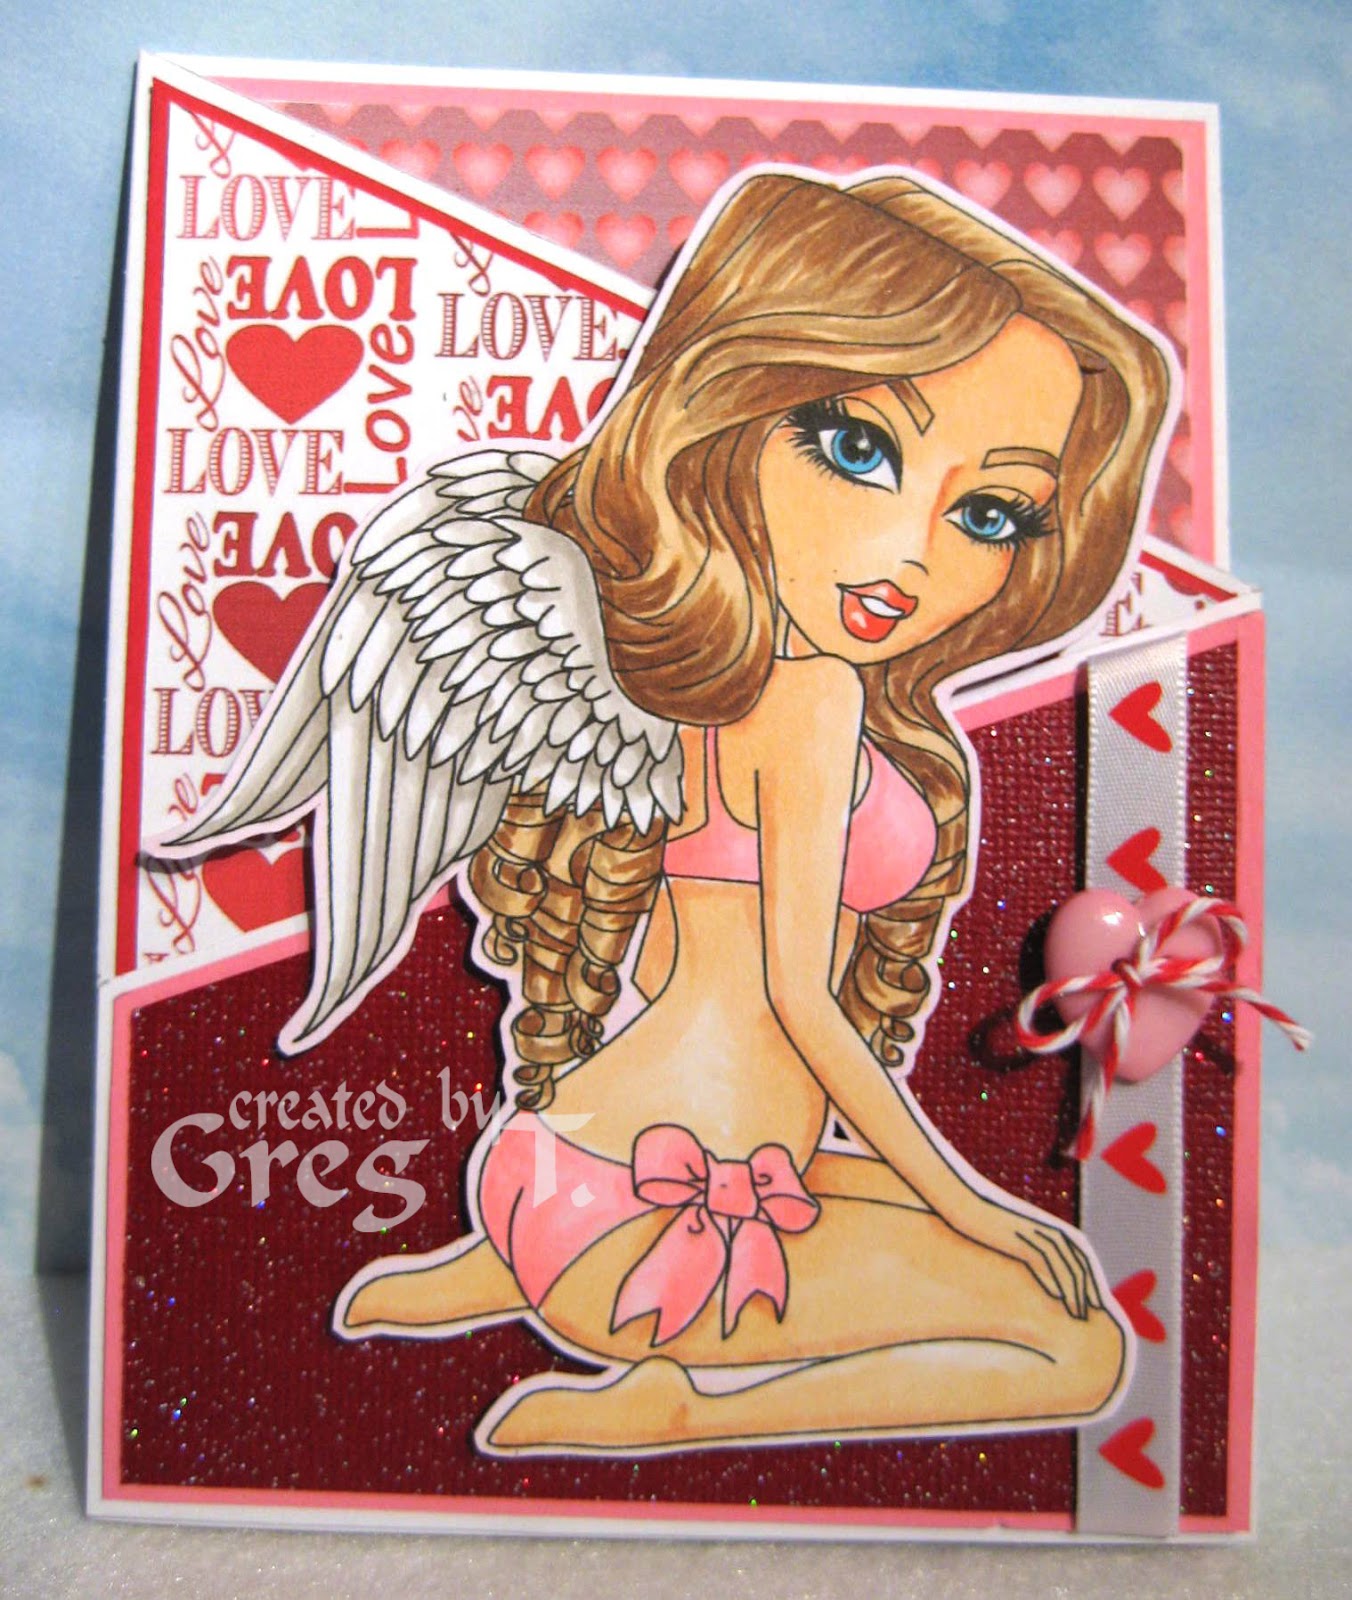
This week's Dare To Be Sassy Thursday challenge (#320) at Sassy Studio Designs is "Happy Valentine's Day-Create a Valentine's project". I thought I'd make a Z-fold card.  I created some papers for Valentine's Day and thought I'd use them.


opening

2nd panel

full inside

inside right

side view

Stuff I Used:
Image-Sassy Cupid digital image by SSD
Colored with Copics
Skin-E00, E11
Eyes-B02
Lips-R22, R24
Hair-E53, E43, E57
Bikini-RV21, RV23
Wings-W1, W3
DP- Created by me
Cardstock-Paper Company Red & Botanical pack, Core Couture glitter paper Red Carpet
Twine- Darice Baker's twine red/white
Button-Dress It Up Heart Breakers 
Ribbon-Just Enough Ribbon Accents
Sentiment-Computer generated

I popped up the image on homemade pink foam squares. I added a smaller image on the inside.  I like the way this card turned out.  I never seem to use this many papers on a project.  I didn't even create them to be used together.
Now it's your turn to create something.  You know you can always use 1 more Valentine's Day card if you haven't made any yet.

Thanx for looking and please comment and follow. 


post signature

Tuesday, December 1, 2015

Sandy Claus is Coming to Town

Welcome December. Where has the year gone? Now that it's December, it's time for a new image for the Sassy Studio Designs Facebook Progressive Challenge.
  If you haven't played along in the past, now is a great time to get started. I have posted the rules below.

I decided to make an easel card for the challenge.  I also broke out my Cricut for this one.  Here is what I created.


open

inside

close up

Stuff I Used:
Image-Santa Pin Up digital image
Colored with Copics
Skin-E00, E11
Eyes-YG07
Lips-RV23, RV25
Hair-W1, W3, W5
Outfit-R24, R27, R29, N0, N2
Boots-C1, C3, C5, C7
Bag-YG05, YG07, Y26, Y28
DP-DCWV the Christmas stack
Glitter paper-MS Holidays pack
Card stock-Recollections Jewel pack
Sentiment-Computer generated
Snowflake-Cricut Accent Essentials

I popped up the image and sentiment on homemade green foam squares.  I added a smaller image and more DP on the inside.
I hope you join us and take the challenge.
Here are the rules for playing along.

What is a progressive challenge.

It is a monthly challenge starting from the 1st till the 26th at midnight CST.
You will be given your first image free.
To obtain your free image email me:samantha.h.aguilera@gmail.com 
If you play along and enter all the monthly challenges your image will always be free.
The image isn't sent automatically you must still email me to join in and keep getting those free images.
If you have a break from us and re-join at a later date,then you have to purchase your image from the store at;
http://sassystudiodesigns.blogspot.com/ Then the following month your image again will be free.
The challenge is free to all ANYTHING GOES,you can enter as many times as you wish,let your imagination run wild.HAVE FUN

Prizes.

Winners will be announced the last day of the month!

1st Place- Will receive a $10.00 gift card and also gets to be guest designer for the month. Which entitles them to more free images and new release images for that month.

2nd Place- $10.00 gift card.

3rd Place- $5.00 gift card

All winners please email Samantha, Samantha.h.aguilera@gmail.com to claim all prizes. You will be given promo codes in order to claim your prizes.

Rules.
  • To request the monthly image you MUST send me an email to samantha.h.aguilera@gmail.com    
  • You MUST use the Monthly Progressive Sassy Studio Designs image.
  • You have until 11:59pm CST on 26th to upload your creation in the assigned album in photos to be eligible for the draw.
  • You MUST WATERMARK your projects.Unfortunately your project will be removed if it doesn't display this.

Sassy Studio Designs Terms of Use:
All content found on this blog including the designs, the photographs and the text are © of Sassy Studio Designs. The artwork is shared with you for your inspiration and may not be copied for publication or contest submission. By downloading any of our Digital image files either given or won for free or paid for by yourself or any other you agree to the terms and conditions of use set forth by Sassy Studio Designs. Sassy Studio Designs allows a single user a non-exclusive, non-transferrable right to download and use these images.
You cannot share with any friends or family,  Facebook, Pinterest or any other Social Media Outlets.

You have the right to print these images as many times as you wish and use them in any handmade project.

You can also print these images any size fitting the project you are doing.

You can use these images in your own personal digital scrapbooking or in your own personal blog designs. You may not use them in the designs for others, you may not use them where a digital item will be sold and you may not use them on a website or company site. If used in it’s digital form these images are solely for personal use. You can not alter these items digital and then claim them as your own. You can not share the digital file with any other persons. However, you can swap or trade these images in the printed form, but under no conditions are you permitted to sell them.
You may not use these images in kits or in any commercial use for sale.

We do support an angel policy that allows you to create something by hand 100% by you and sell those items such as cards or piercings or scrapbook layouts but they must be handmade not commercially produced. (so we don’t mind if you create with them in their printed form and sell your creations using these images. If you do this please just give credit for the images to us whenever possible. We ask that you not sell digital things such as invitations or stationery that is mass printed/produced by printing) and if you have any questions please feel free to email me and We will answer your questions as quickly as possible sassystudiodesigns@yahoo.com

Thanx for looking and please comment and follow.


post signature

Thursday, August 6, 2015

Cream Birthday Cake

It's Thursday.  Time for the first Dare To Be Sassy Thursday challenge (#293 Anything Goes) at Sassy Studio Designs.  I'm now on the DTBST team for the month.  I needed to make some birthday cards for birthdays that are this month. I used last week's sketch from Freshly Made Sketches (#197).

Here's my take.


inside

Stuff I Used:
Image-Birthday Cake Sassy by Sassy Studio Designs
Colored with Copics
Skin-E00, E11
Eyes-G03
Lips-R20, R22
Hair-E53, E43, E57
Dress-V12, V15, B12, B02
Cake-E51, E53, V12, V15, B12, B02, G03, G05, C1, C3
DP-DCWV Happy Birthday Cream green, Coredinations core-couture Lt blue glitter
Card stock-Recollections Jewel pack
Base cardstock-Staples cream cardstock

I popped up the image on homemade tan foam squares.  I added a smaller image and glitter card stock on the inside.

Now it's your turn to create something with the challenge.

Thanx for looking and please comment and follow.

post signature

Saturday, March 28, 2015

Cinderella's Crown

It's here!  The March Release/Hop at Sassy Studio Designs.

Lindsay created some amazing images.  Hopefully you've been following along the Hop and arrived here from Kim's blog.  If you didn't and want to start at the beginning, you can go here.
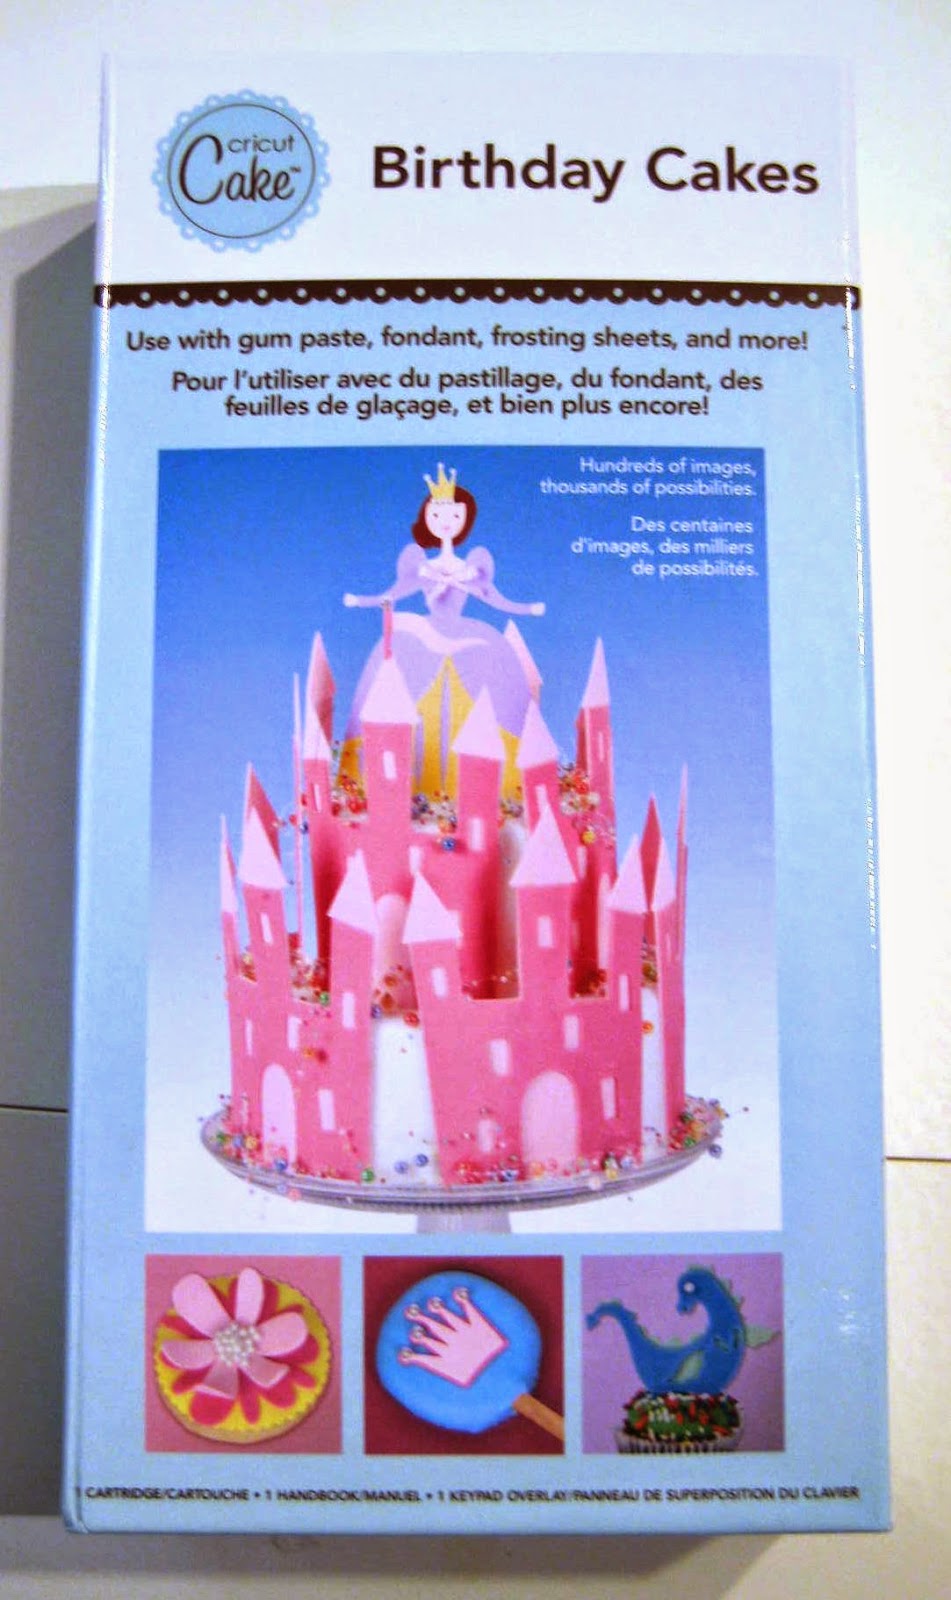
I had the "Ella at the Ball" image to work with for the Hop.  I was looking at my seldom used Cricut cartridges.  I saw the Birthday Cakes cartridge.  It had a couple of crowns.  So I decided to make a shaped card.


inside

showing glimmer

Stuff I Used:
Image-Ella at the Ball digital by Sassy Studio Designs
Colored with Copics
Skin-E00, E11
Lips-R22, R24
Hair-Y23, Y26, YR24
Dress-B00, B02, V05, V06
DP-Sandy Lion Cinderella paper from JoAnn's w/ glitter paper crown cut out on top
Glitter paper-Core Couture Core'dinations White glitter
Card stock-Nennah Astrobrights Dk Grey
Crown shape-Cricut Birthday Cakes cartridge Crown 1
Rhinestones-Michaels $1 bin 
Glimmer on dress-Sakura Gelly Roll clear gel pen

I popped up the image on homemade pink foam squares.  I added a smaller image on the inside.

If you leave a comment on each of the DT's blogs and at the SSD site, you could win the entire Release.  And don't forget to join in the Live Chat tonight from 6-8PM PST.  If you need a Time converter to see what time that is where you live, click here.  Join in and chat with members of the Design team and anyone else that joins in.  It's always a good time.

Your next stop is our recent Facebook Progressive challenge winner Vanessa's blog.
 If you get lost along the way, here's the full Hop list.

Thanx for looking and please comment and follow.

post signature

Friday, September 19, 2014

Cleo in Red

Another week has gone by in September. So it's time for the next Flashback Friday at Sassy Studio Designs. Again this week we have 2 images for you.
Bonnie of the Nile (Cleopatra Sassy) 
Mummy Sassy

I chose to use the Cleopatra Sassy this time. And I made a easel card.

inside

folded

detail of inside border

detail of image

Stuff I Used:
Image-Bonnie of the Nile digital image by Sassy Studio Designs
Colored with Copics
Skin-E00, E11
Eyes-E25
Lips-R20, R22
Hair-C1, C3, C5, C7
Dress-R32, R35, R37, R39, YR24, Y28
DP-DCWV Cinnamon Luster stack
Cardstock-Stash 
Diecuts-Spellbinders Deckled Rectangles Small
Cuttlebug
Sentiments-Computer generated

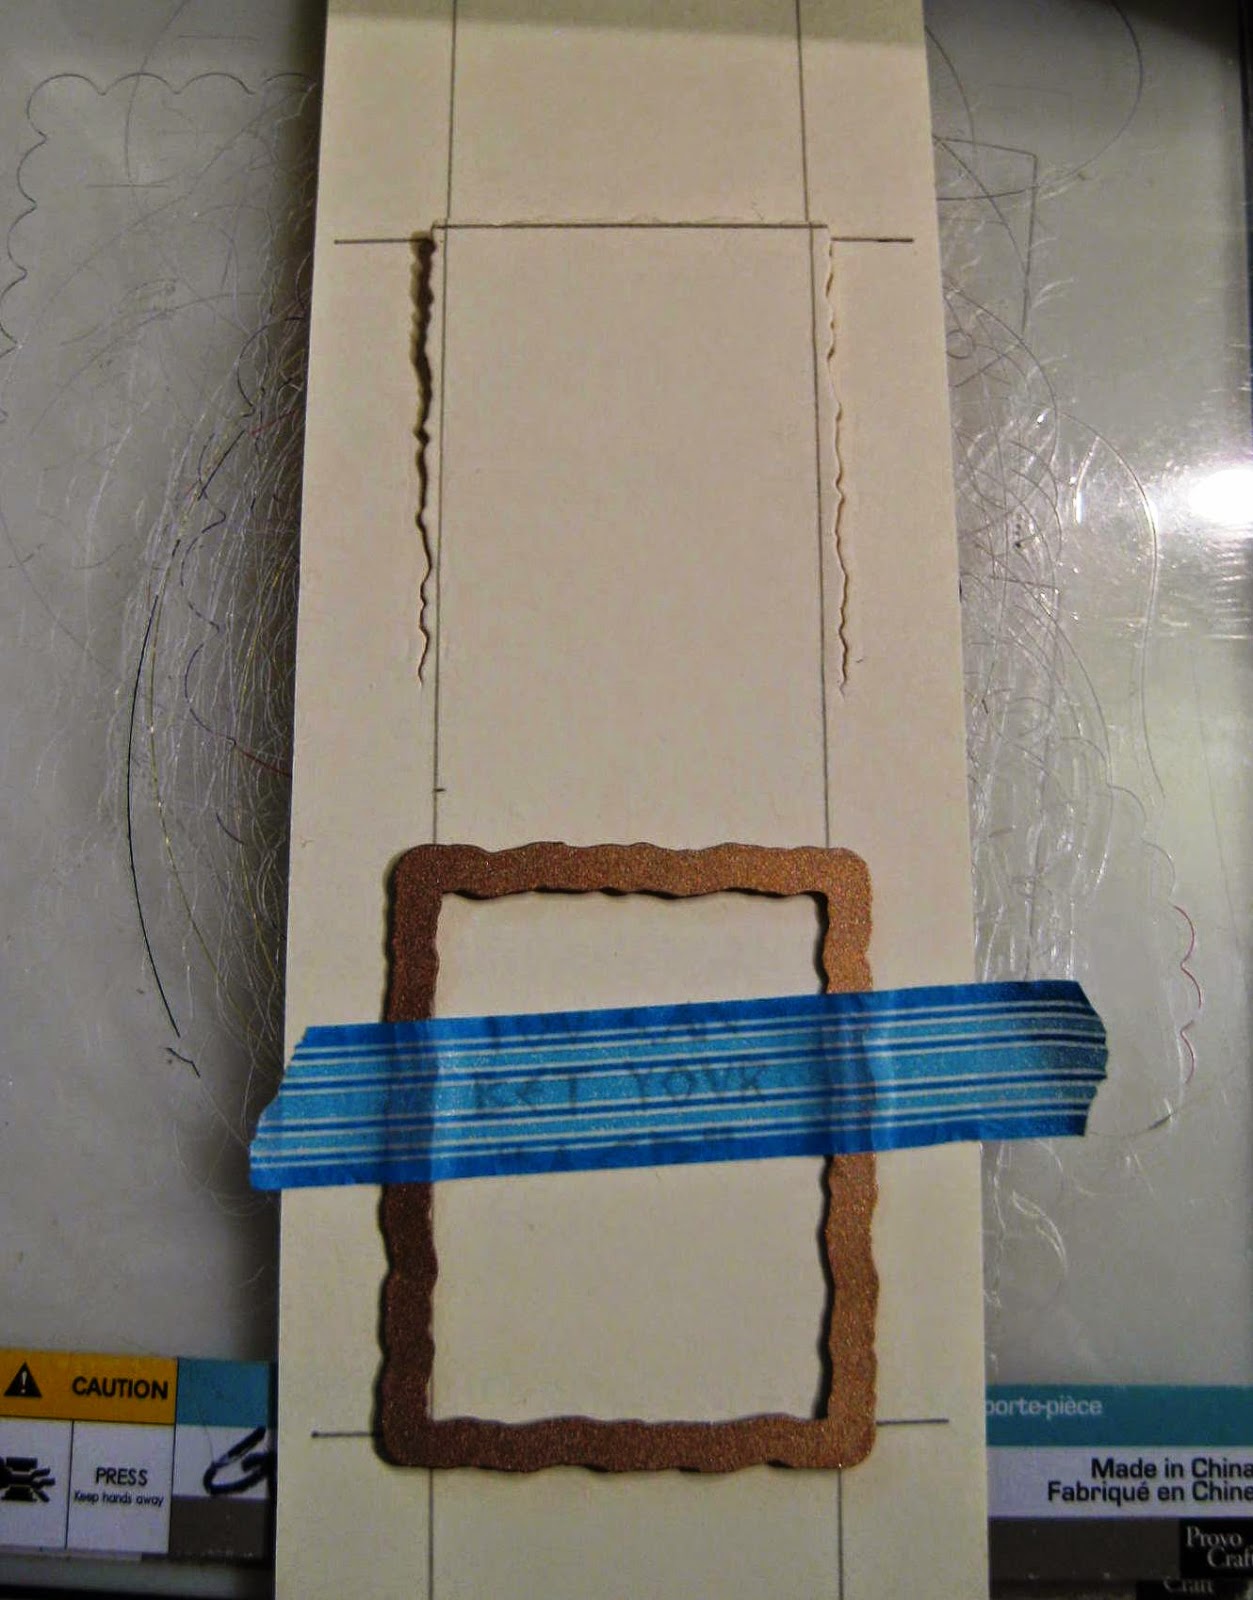
I didn't have a die the right size for the long piece behind the image.  So I used the 3rd die from the center to create the shape.
drew the shape on the cardstock 
placed & taped the die on one end of the shape
placed the "C" plate so it didn't cut all the way down 
moved the die to the other end 
again placed the "C" plate not over the entire die 
after the ends were cut 
finished the cuts with my x-acto 
finished piece. Just need to erase lines (or use other side)

Hope this little tutorial was helpful.

Here's a link to a card I made with the Mummy Sassy last year.

Thanx for looking and please comment and follow.


post signature