Showing posts with label not a card. Show all posts

Friday, June 6, 2014

Bride Journal

June is here. So I've moved over as a SSD DT member to the Flashback Friday team at Sassy Studio Designs. This week we have the great image "Bella Bride" as inspiration.  It's available in the SSD Store at a discount price this week.  I decided to make something other than a card this time around.
I made a what I'd call a "Bride's Journal".


close up of image

inside

back

Stuff I Used:
Image-Bella Bride digital image by Sassy Studio Designs
Colored with Copics
Skin-E00, E11
Lips-R20, R22
Eyes-B23
Hair-E31, E34, E25
Dress-C1, C3, C5
Roses-Y23, Y26, YR24, G24, Gold gel pen
DP-me & my Big ideas Mambi sheets, Gold paper
Card stock-Staples grey
Ribbon-Darice Trim Accents Mixed gold-silver 
Rhinestones-Michaels $1 gold
Journal-Darice Natural paper 4 3/4 x 7 
Cricut cartridge-Accent Essentials

I covered the journal with the DP using rubber cement as the adhesive. I added grey card stock on the inside covers.  I popped up the image on white foam squares
.I made a small card (2 1/4" x 4 1/4") and envelope to co-ordinate with the journal
small card

card & journal

Hopefully you've been inspired to create something with the "Bella Bride" image.  You know you have at least 1 wedding to go to this summer.  And you will make a card anyway. So comment here then head to the Sassy Studio Designs Store and pick up this image.


post signature

Saturday, March 22, 2014

Bunny Basket

Welcome.  I  hope you're enjoying all the amazing projects by the DT.  You should have arrived here from Kitty's blog. If not, you need to go back to the beginning here and follow along.
As you know this month's challenge is to "Reuse and Recycle" something on your project.  And use the Tic Tac Toe board.
You know how it works.  Use 3 squares in a row, Vertical, Horizontal, Diagonal. If you use the left to right diagonal, you need to use 3 recycled items.


I got a little ambitious this time and used all the items. (except I really only "reused" 1 item and left over paper from a previous project)  The left over paper was from a pair of cards I made awhile back.

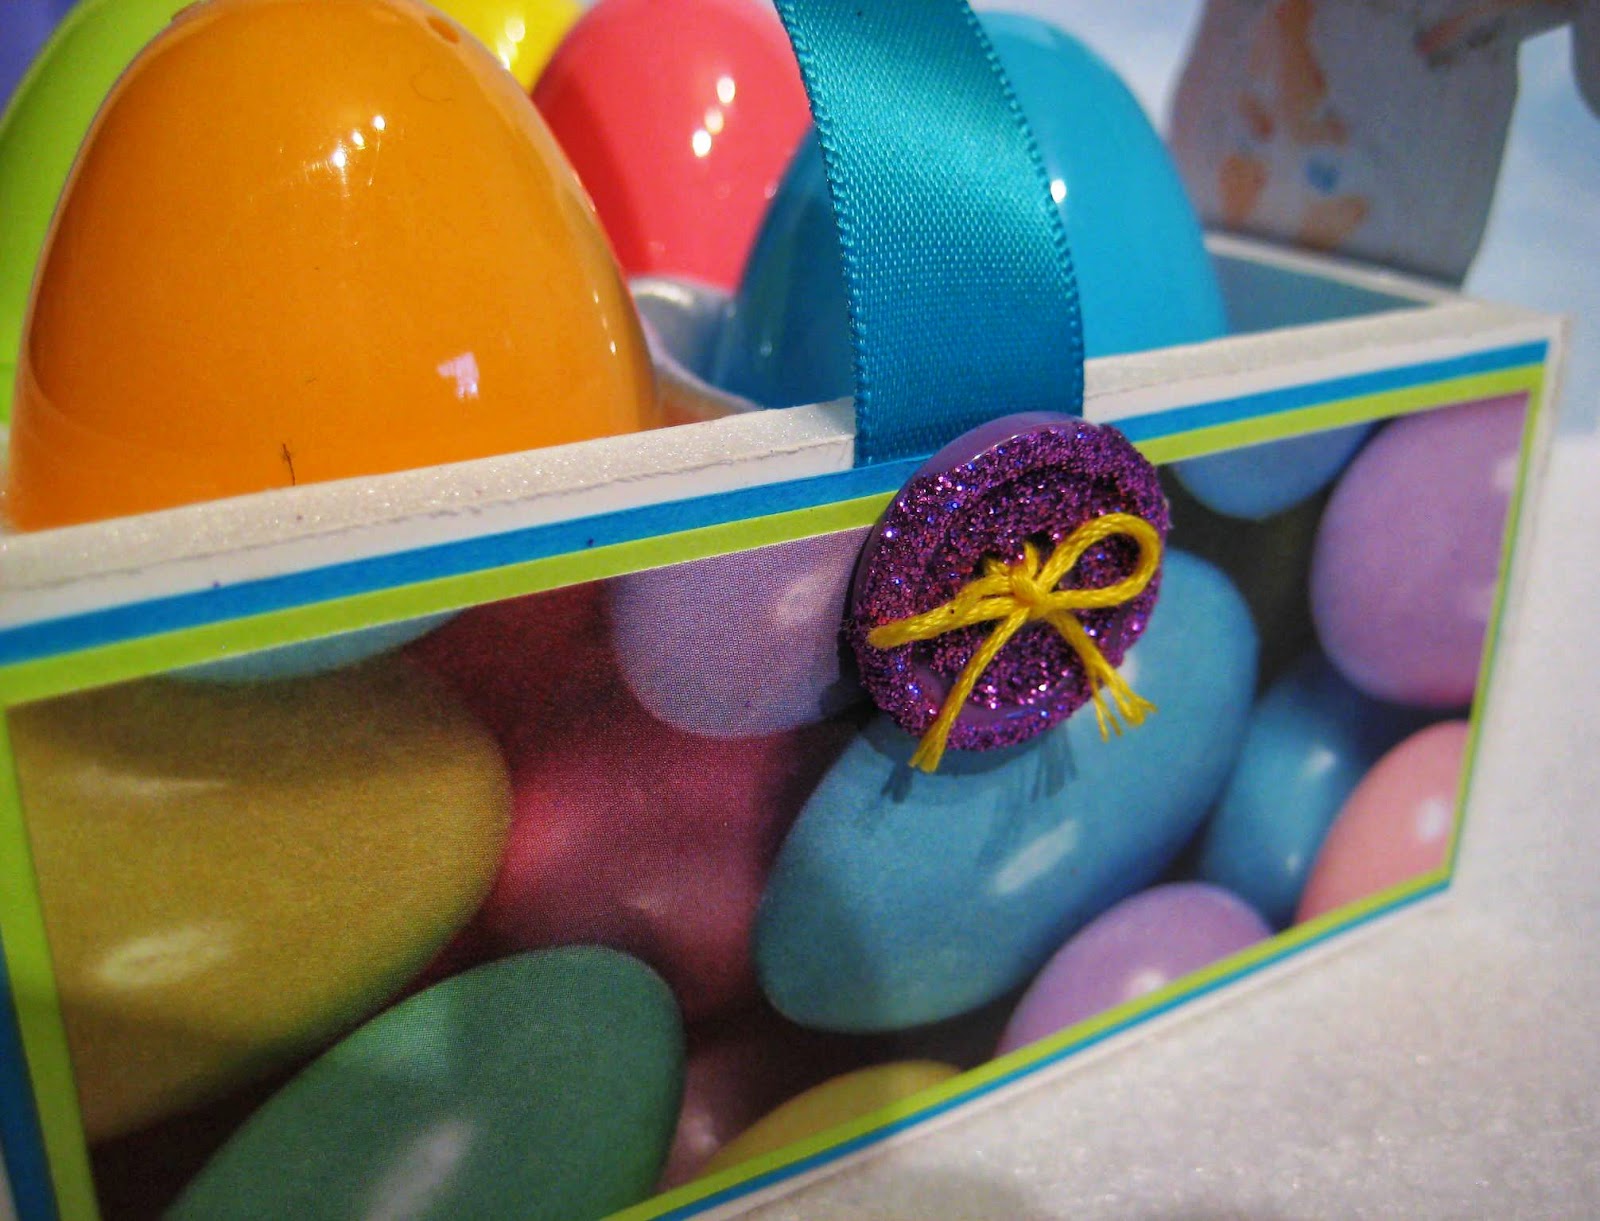
And my "Reused" item is a section of a egg carton.

Here is what I created.


side view

top view

Stuff I Used:
Image-Easter Bunny 2014 digital image by Sassy Studio Designs
Colored with Copics
Skin-E00, E11
Eyes-B21, B24
Lips-R20, R22
Hair-E31, E34, E25
Outfit-W1, W3, R30, R32
Shoes-YR61, YR65, YR68
Egg-V12, V15
DP-Paper Pizazz Easter Eggs
Card stock-Recollections
Diecut/embossing-Spellbinders Fleur de Lis Rectangle
Ribbon-Darice Basic Expressions 5/8" Satin bright blue 
Flower-Target $1 bin
Pearl-queen & co it yellow (it says Lime Green?) 
Button-Michaels $1 bin purple 
Glitter-studio g purple 
Floss-Darice embroidery floss yellow (#515)
Eggs-JoAnns pastel eggs
Sentiment-Computer generated

I cut the foam egg carton to hold the 6 eggs and made the box from foam core.  I adhered the glitter to the buttons with Glossy Accents.  I popped up the image on homemade light purple foam squares.
This was a fun project. It's always good to be able to use stuff that you have laying around.  Hopefully you'll join in the fun and create something for the challenge. And don't forget to comment on all of the DT's blogs.  You could win some of these new images.

After you comment, head on over to Jacki's blog and see what shes created. If you get lost along the way, here's the full list.
Carrie - http://carrieshandmadecards.blogspot.co.uk/

Thanx for looking and please comment

post signature

Saturday, February 15, 2014

Lets Spring into Something Fresh

___________________________________________________________
This is the 2nd post of the day.  If you're looking for the FB challenge, see the previous post for today.  But since you're here, join in the Hop fun.


Well it's finally here.  The February Release/Hop at Sassy Studio Designs.


It's been a while since we've had a Release/Hop.  This time the theme is "Spring / Fresh".  And the challenge is "Anything But a Card". The Design Team has come up with some great projects.  Some of the images showcased are "re-releases (and updates)" of past images.  And there are some new images Lindsay has created.  All of them are amazing.
I am honored to be the first site in this Hop.  So if you didn't come here from the SSD site, you only have to go back 1 site to be at the beginning.
Now that you are here, let me show you what I created. Since it's "Anything But a Card", and what is "Fresher" than the smell of Lavender, I constructed a box to hold 3 Lavender Sachets.

foam core pieces

box assembled (hadn't cut hole in lid yet)

The image I was given to work with is the "Clover" image.  As you can see, it doesn't have to be just for St Patrick's Day.


partially open

sachets inside

felt lining

another view

side view

bottom view (showing lid in place)

Stuff I Used:
Image-Clover digital image by Sassy Studio Designs
Colored with Copics
Skin-E00, E11
Lips-R30, R32
Eyes-G02, G05
Hair-E31, E34, E25
Hat/outfit/shoes-YG03, YG06, V12, V15, Y23, Y26, W1, YG61, YG63
DP-Wild Asparagus by My Minds Eye
Cardstock-Butterfly Wings pack by Recollections
Foam Core-3/16 white by Elmer's
Felt-Classic felt in lavender
Ribbon-Offray Spool 'O' Ribbon 1/4" green
Acetate-for window opening
Diecut-Glitter diecuts by K&Company gold
Lavender sachets-3 pack from Michaels 

The box is 5" wide x 7 1/4" high x 1 3/4" deep.  I popped up the "Clover" image on homemade lavender foam squares.  The ribbon was added to make it easier to get the sachets out of the box.
This was a fun project.  I like making boxes to store things in out of Foam core. I've made boxes for my Dew Drop and studio g ink pads, my Adirondack ink and Stickles bottles and my Copics, just to name a few.
After you comment, it's off to Jackie's Blog to see what she's created.
Here is the entire Hop list.

Don't forget to comment on each of the DT's blogs for a chance to win some terrific prizes.

Thanx for looking and please comment.


post signature

Thursday, January 30, 2014

Lets Make a Date

It's the end of January already. Can you believe it?
It's also Thursday.  That means it's time for a new Dare To Be Sassy Thursday Challenge (#214) at Sassy Studio Designs.  This week the challenge is "Make your image Pop" (Use pop dots to "pop" your image up).  This was a pretty easy challenge for me since I usually use foam squares to "pop" up my images.  So I thought I'd make something other than a card this time.


I made a desk calender.

close up of popped up image

stand I made on the back

Stuff I Used:
Image-Powder Puff Sassy digital image by Sassy Studio Designs
Colored with Copics
Skin-E00, E11
Lips-R20, R22
Eyes-B21, B24
Hair-E41, E43, E44
Uniform/shoes-Y13, Y15, C3, C5, C7, W1, W3
Cardstock-Recollections Jewel pack and black
Background-Computer generated
Calender-Computer generated
I've included the calenders as PDFs for your use.  Download January thru June here  and July thru December here  Each month will be 4" wide x 3 1/2" high.  I printed the calenders on cardstock. Then I cut out each month. (1/4" margin on each side and 1/2" margin at the top)  I used PVA adhesive to join the months at the top.
I popped up my image on homemade black foam squares.  Since I pop up all my images, I make my own colored foam squares.  I use Foamies sheets and cut it into 2 1/4" strips.  Then run it through my 2 1/2" XYRON twice. (once on each side)

Hopefully you'll create something and join us this week.

Thanx for looking and please comment.

post signature

Thursday, December 12, 2013

Candy Cane Box

Can you believe that Christmas is less than 2 weeks away?  Maybe I should start shopping!  I hope Santa got my list.  What does everyone one want this year?
Well it's that time of the week we all wait for.... Thursday.  And you know what that means.  It's time for the next Dare To Be Sassy Thursday Challenge (#207 It's Beginning To Look A Lot Like Christmas (make a Christmas project)) at Sassy Studio Designs.  I decided to make something other than a card this time.

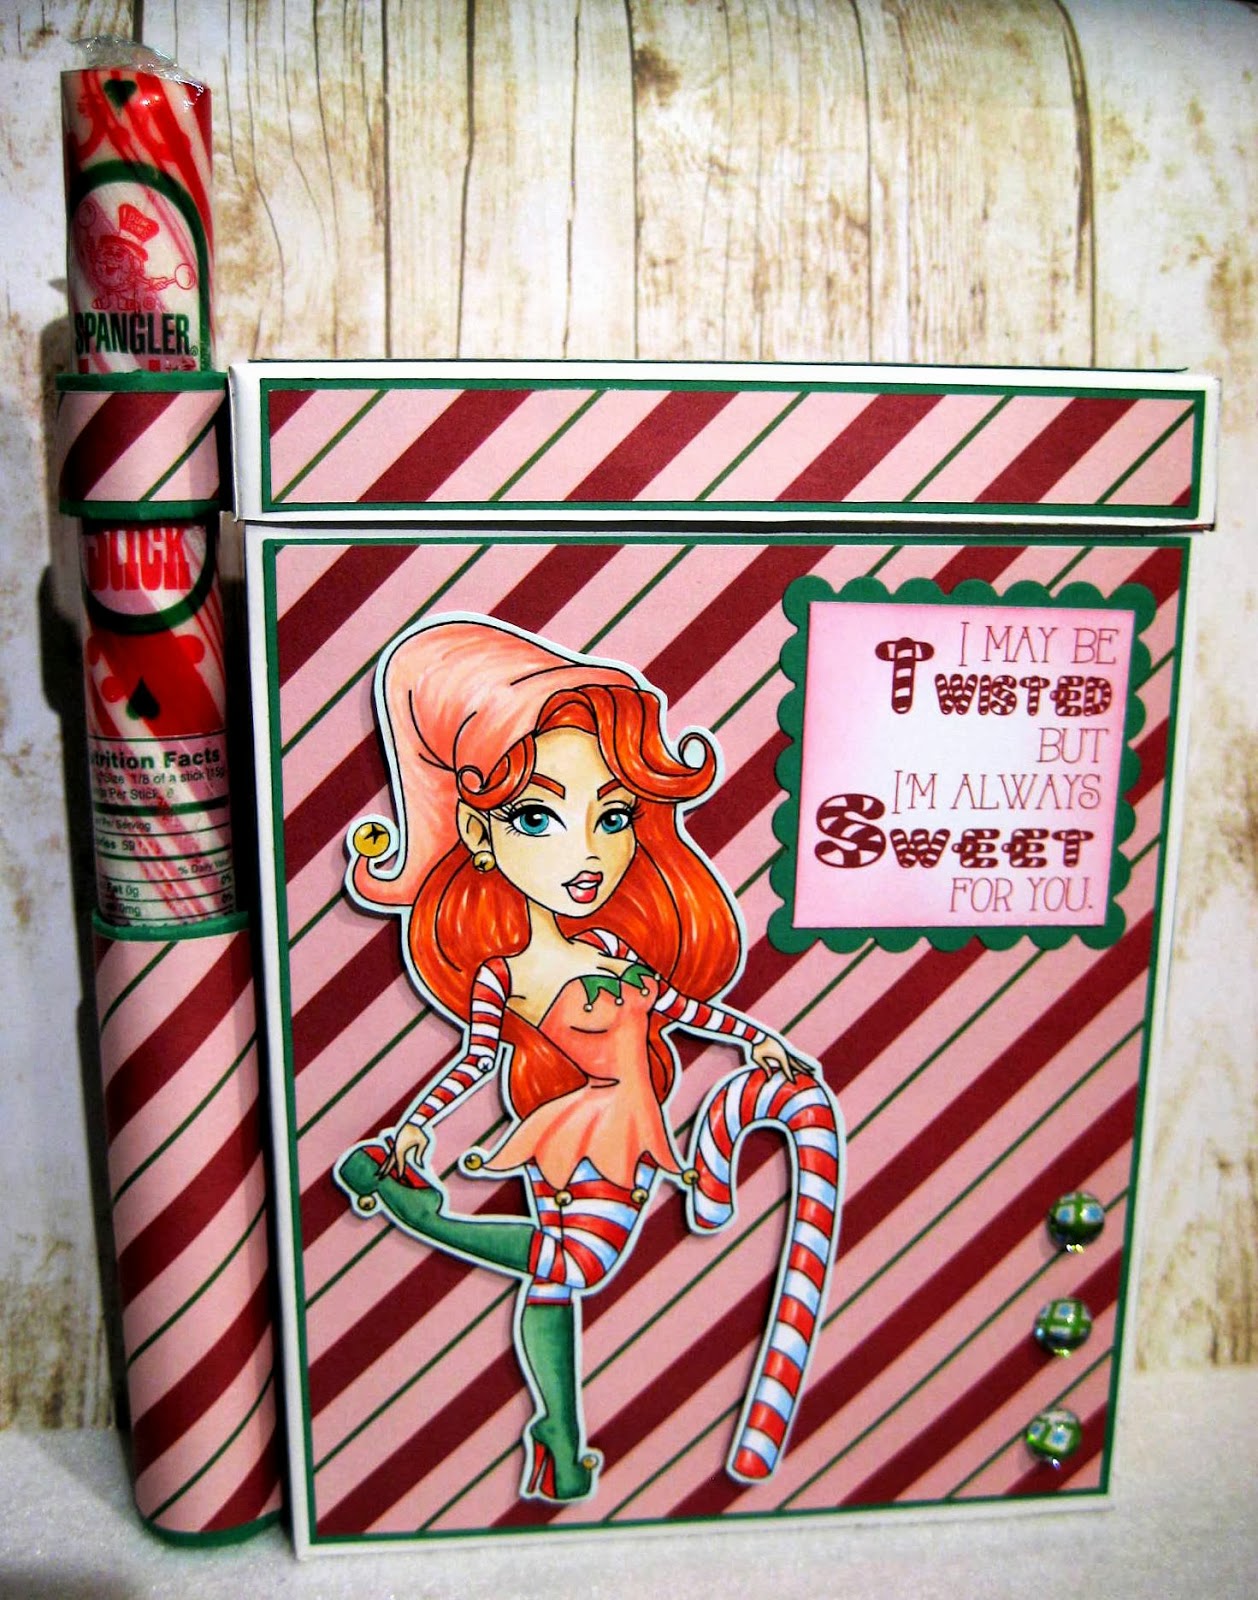
I made a Box

with the lid off

side view

back

Here's what I started with.
cake mix box and the side of a brownie mix box (lid) 
I covered the box  and lid with opaque white paper
I used toilet paper tubes for the rings 
I sliced them and wound them tighter to fit the candy cane stick
candy cane stick (3/4" dia x 9 1/2" long)
Stuff I Used:
Image-Candy Cane Sassy digital image by Sassy Studio Designs
Colored with Copics
Skin-E50, E51, E53
Lips-R32, R35
Eyes-BG15
Hair-YR02, YR68, E08
Candy cane/leggings/sleeves-R22, R24, R27, B32
Hat/dress-R30, R32, G17
Boots-G12, G17, R24, R27
Bells-Y26
DP-DCWV the Christmas Stack
Card stock-the Paper Company • Primary
Diecut-Spellbinders Classic Scallop Circle LG
Edge inking-Studio "g" pink
applied with make-up wedges
Rhinestones-Recollections
Sentiment-Computer generated

I used rubber cement to apply the white paper to the box and lid.  And to apply the green card stock and DP to the rings.  The rings are glued to the box with E-6000. (great stuff)  I popped up the image on homemade pink foam squares.  

It was fun making this project. It's always fun to make something other than a card every once in a while.  I also made this.
a paper mache ornament I painted

Now I guess it's time to get shopping.  Where did I put everyone's lists?  Oh well, I guess everyone gets underwear and socks. hahaha


Thanx for looking and please comment.


post signature